Pompeii
...is a Vulkan-based Graphics Renderer written in C++. It is a learning project to explore the Vulkan API.
...is a Vulkan-based Graphics Renderer written in C++. It is a learning project to explore the Vulkan API.
This project is in active development, meaning it is actively evolving and being worked on, as there is always something new to add, tweak, or improve!
Look around here, or at the code on GitHub to see what Pompeii has become so far!
Description will appear here.


I already had some graphics programming experience, mainly with my Software Ray-Tracer and Rasterizer. From these, I learned the fundamentals of the graphics pipeline and how the GPU works, though everything was implemented on the CPU.
Later, I explored hardware rendering by adding DirectX 11 support to my rasterizer, which was a great way to understand working with the GPU through an API. However, I wanted to dive into something more modern, which led me to discover Vulkan.
I started out by following the Vulkan tutorial, which was great. It taught me how to work with Vulkan and explained how the API worked. Although at the end of the tutorial, you end up with 1 main file with all your code which is over 1000 lines long. This was far from ideal for what I wnated to achieve.
The next step was to refactor all that code into something more useable and reuseable. I created my own wrapper around Vulkan with classes, helper functions, builder pattern, and more, aiming for a structure that made it easier to extend and maintain.
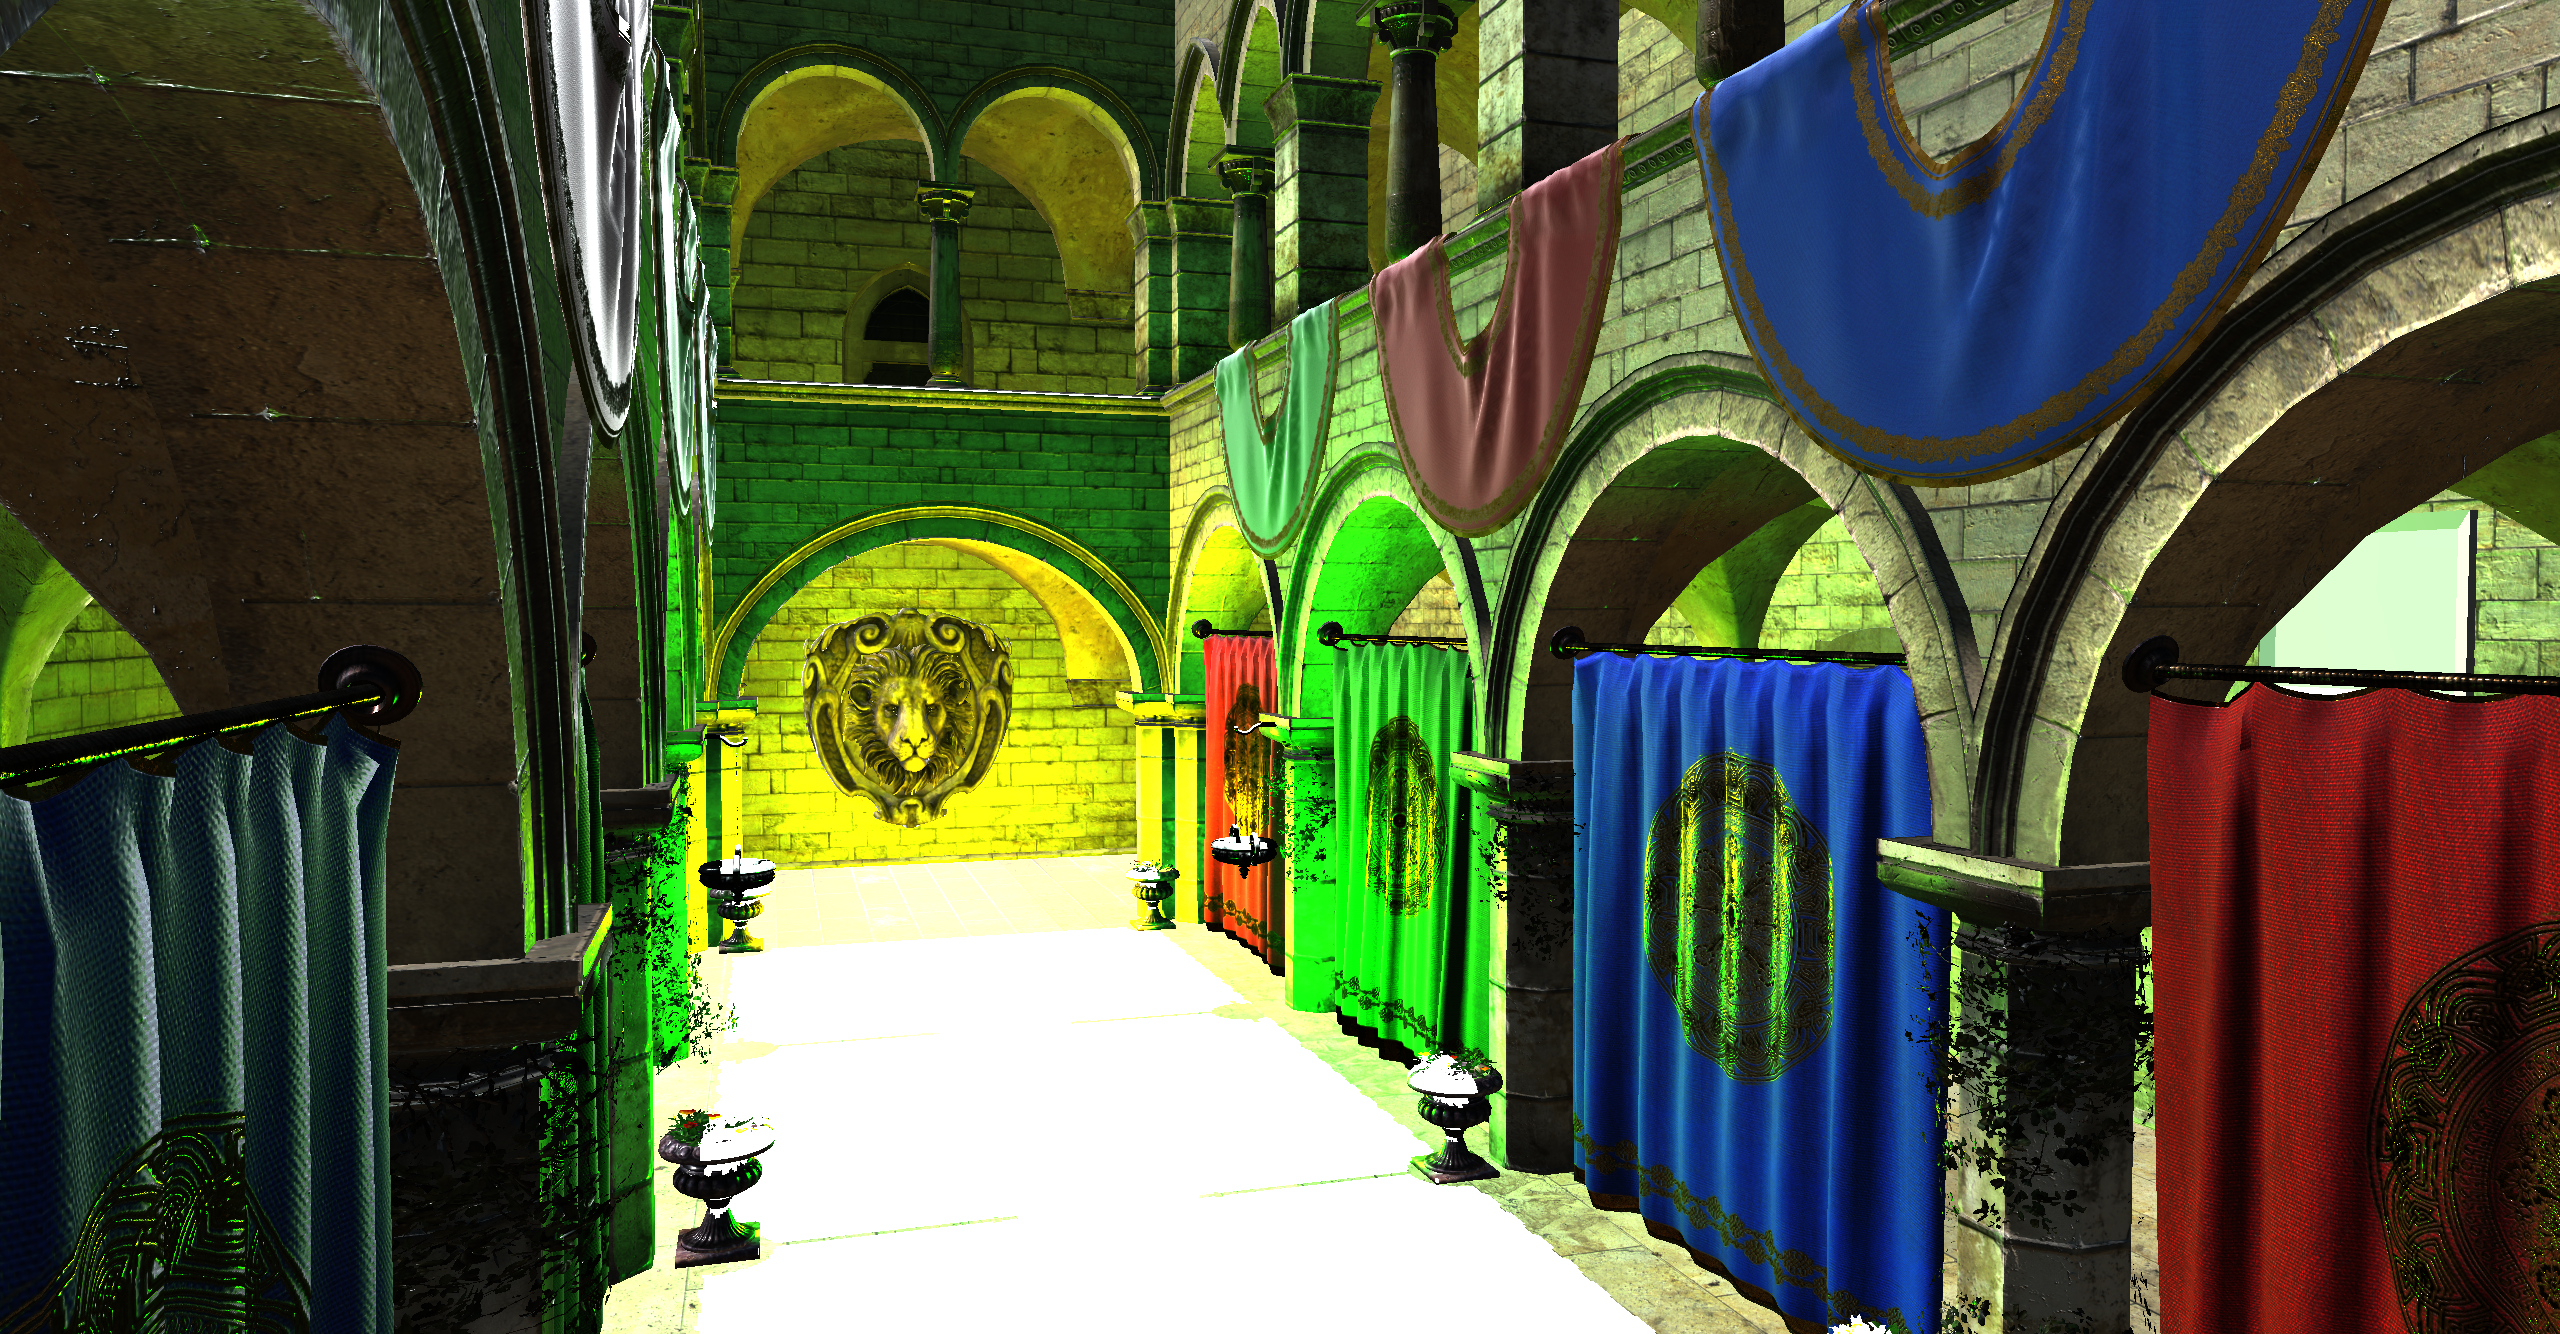
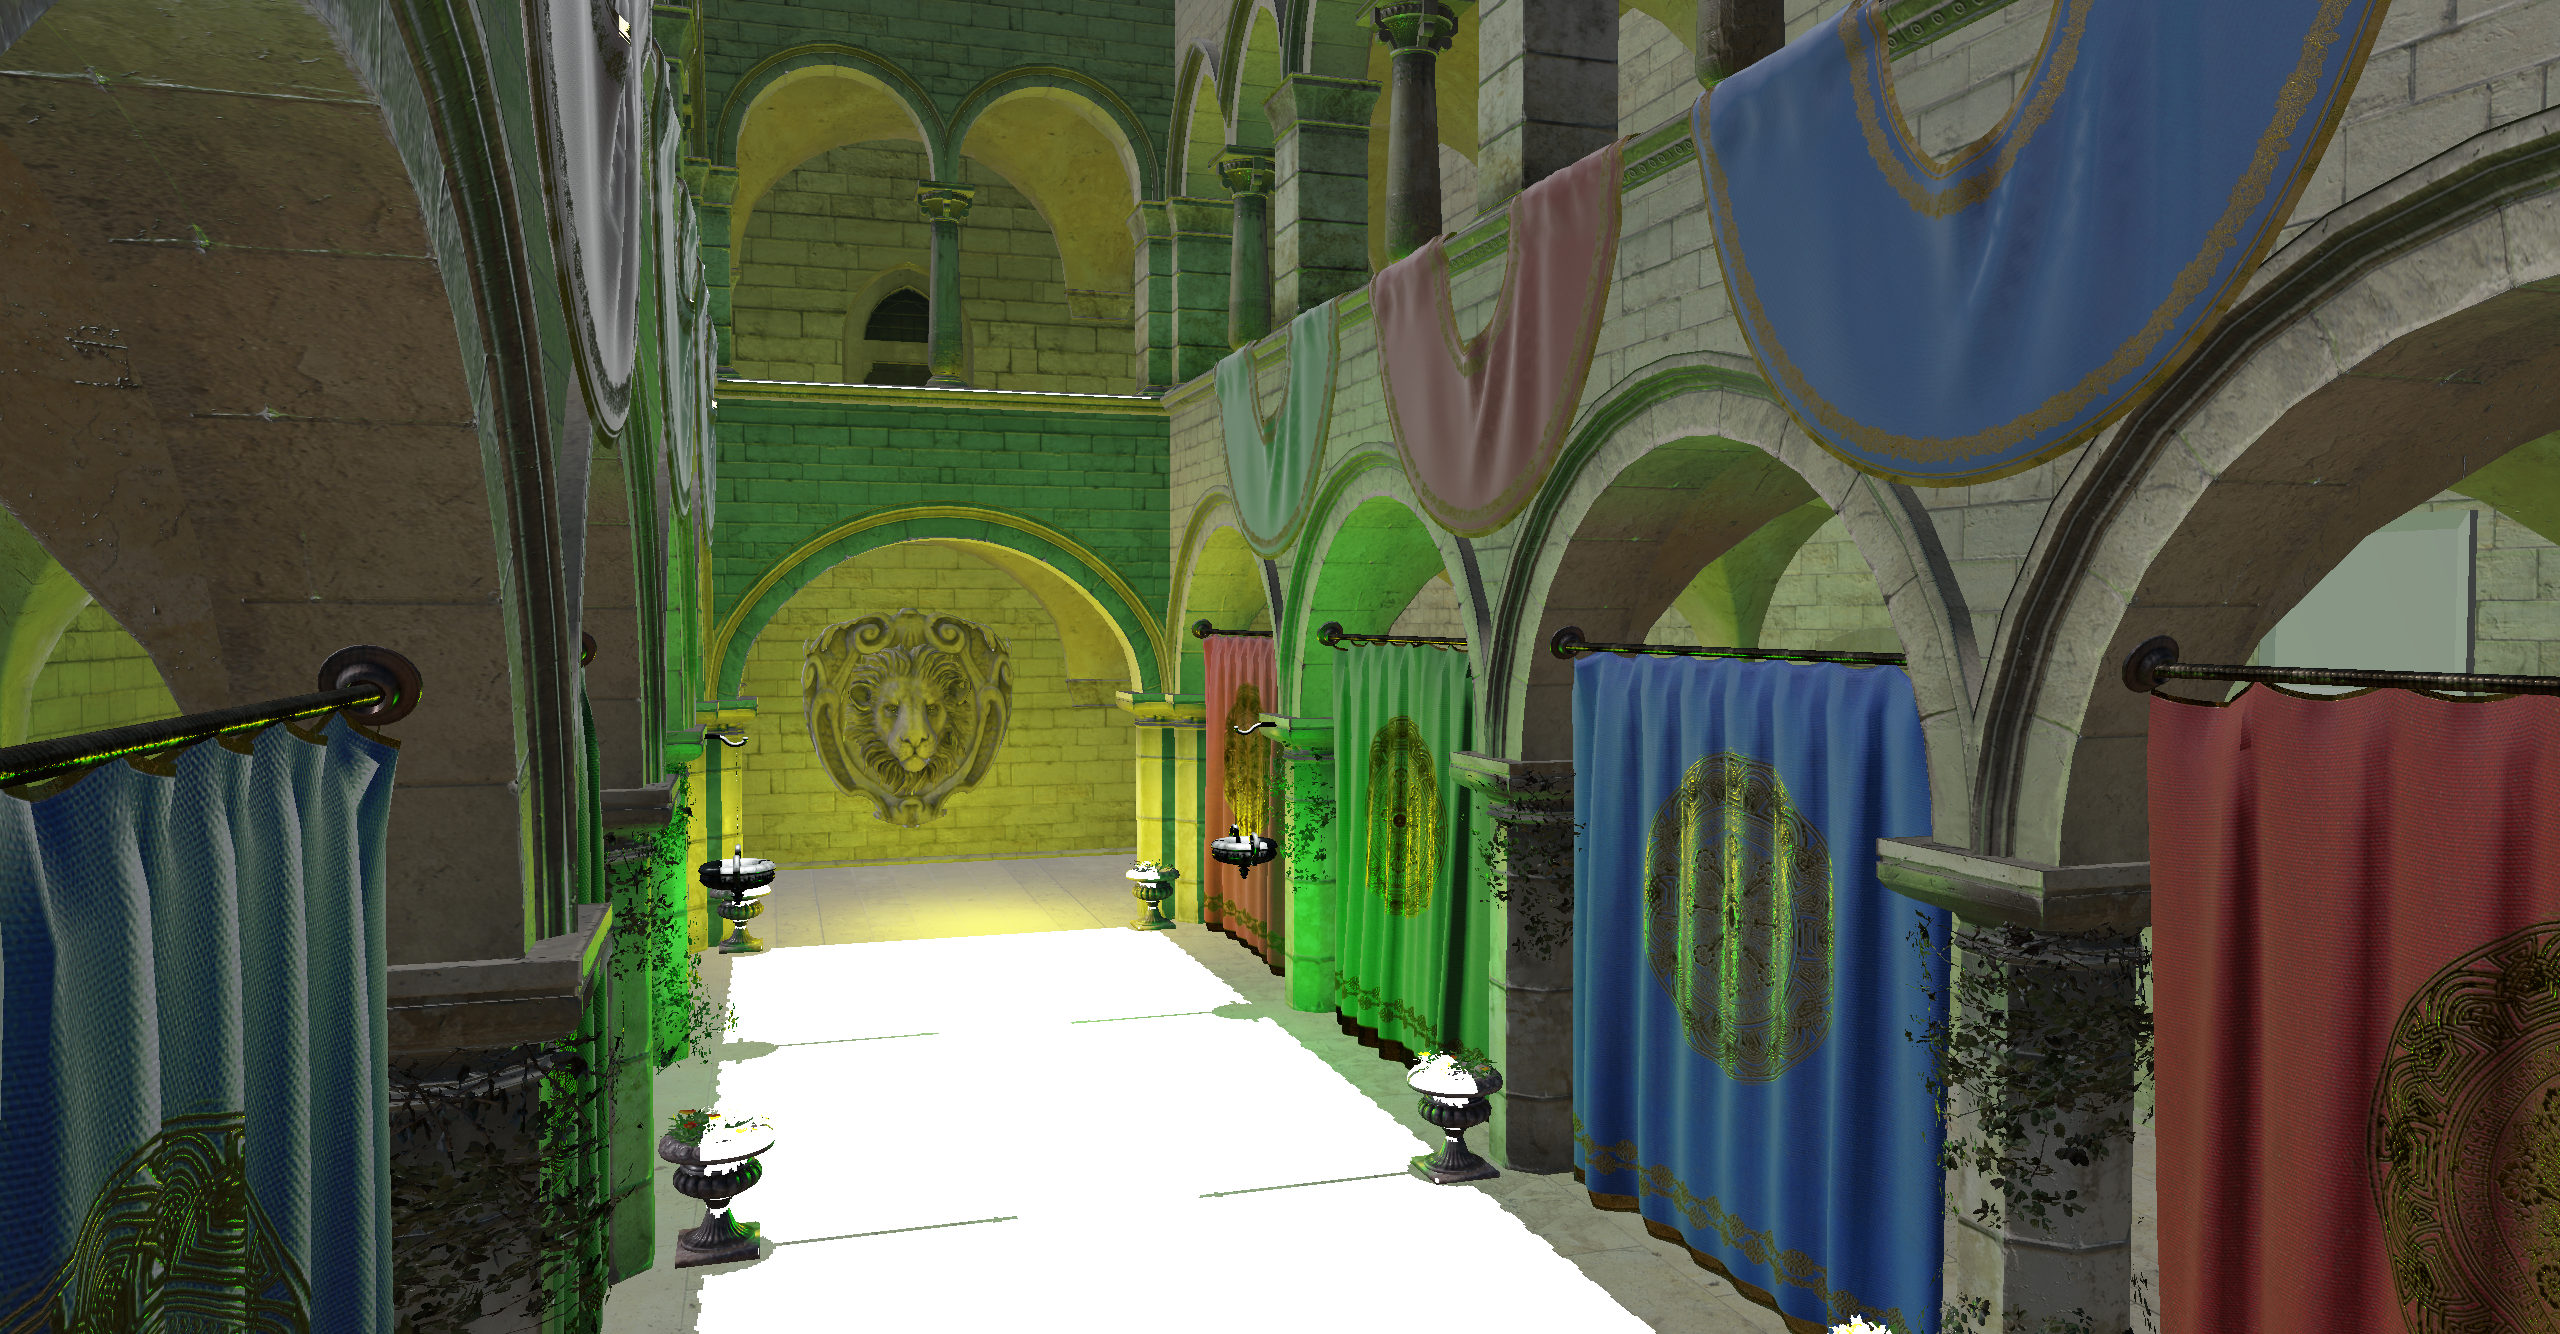
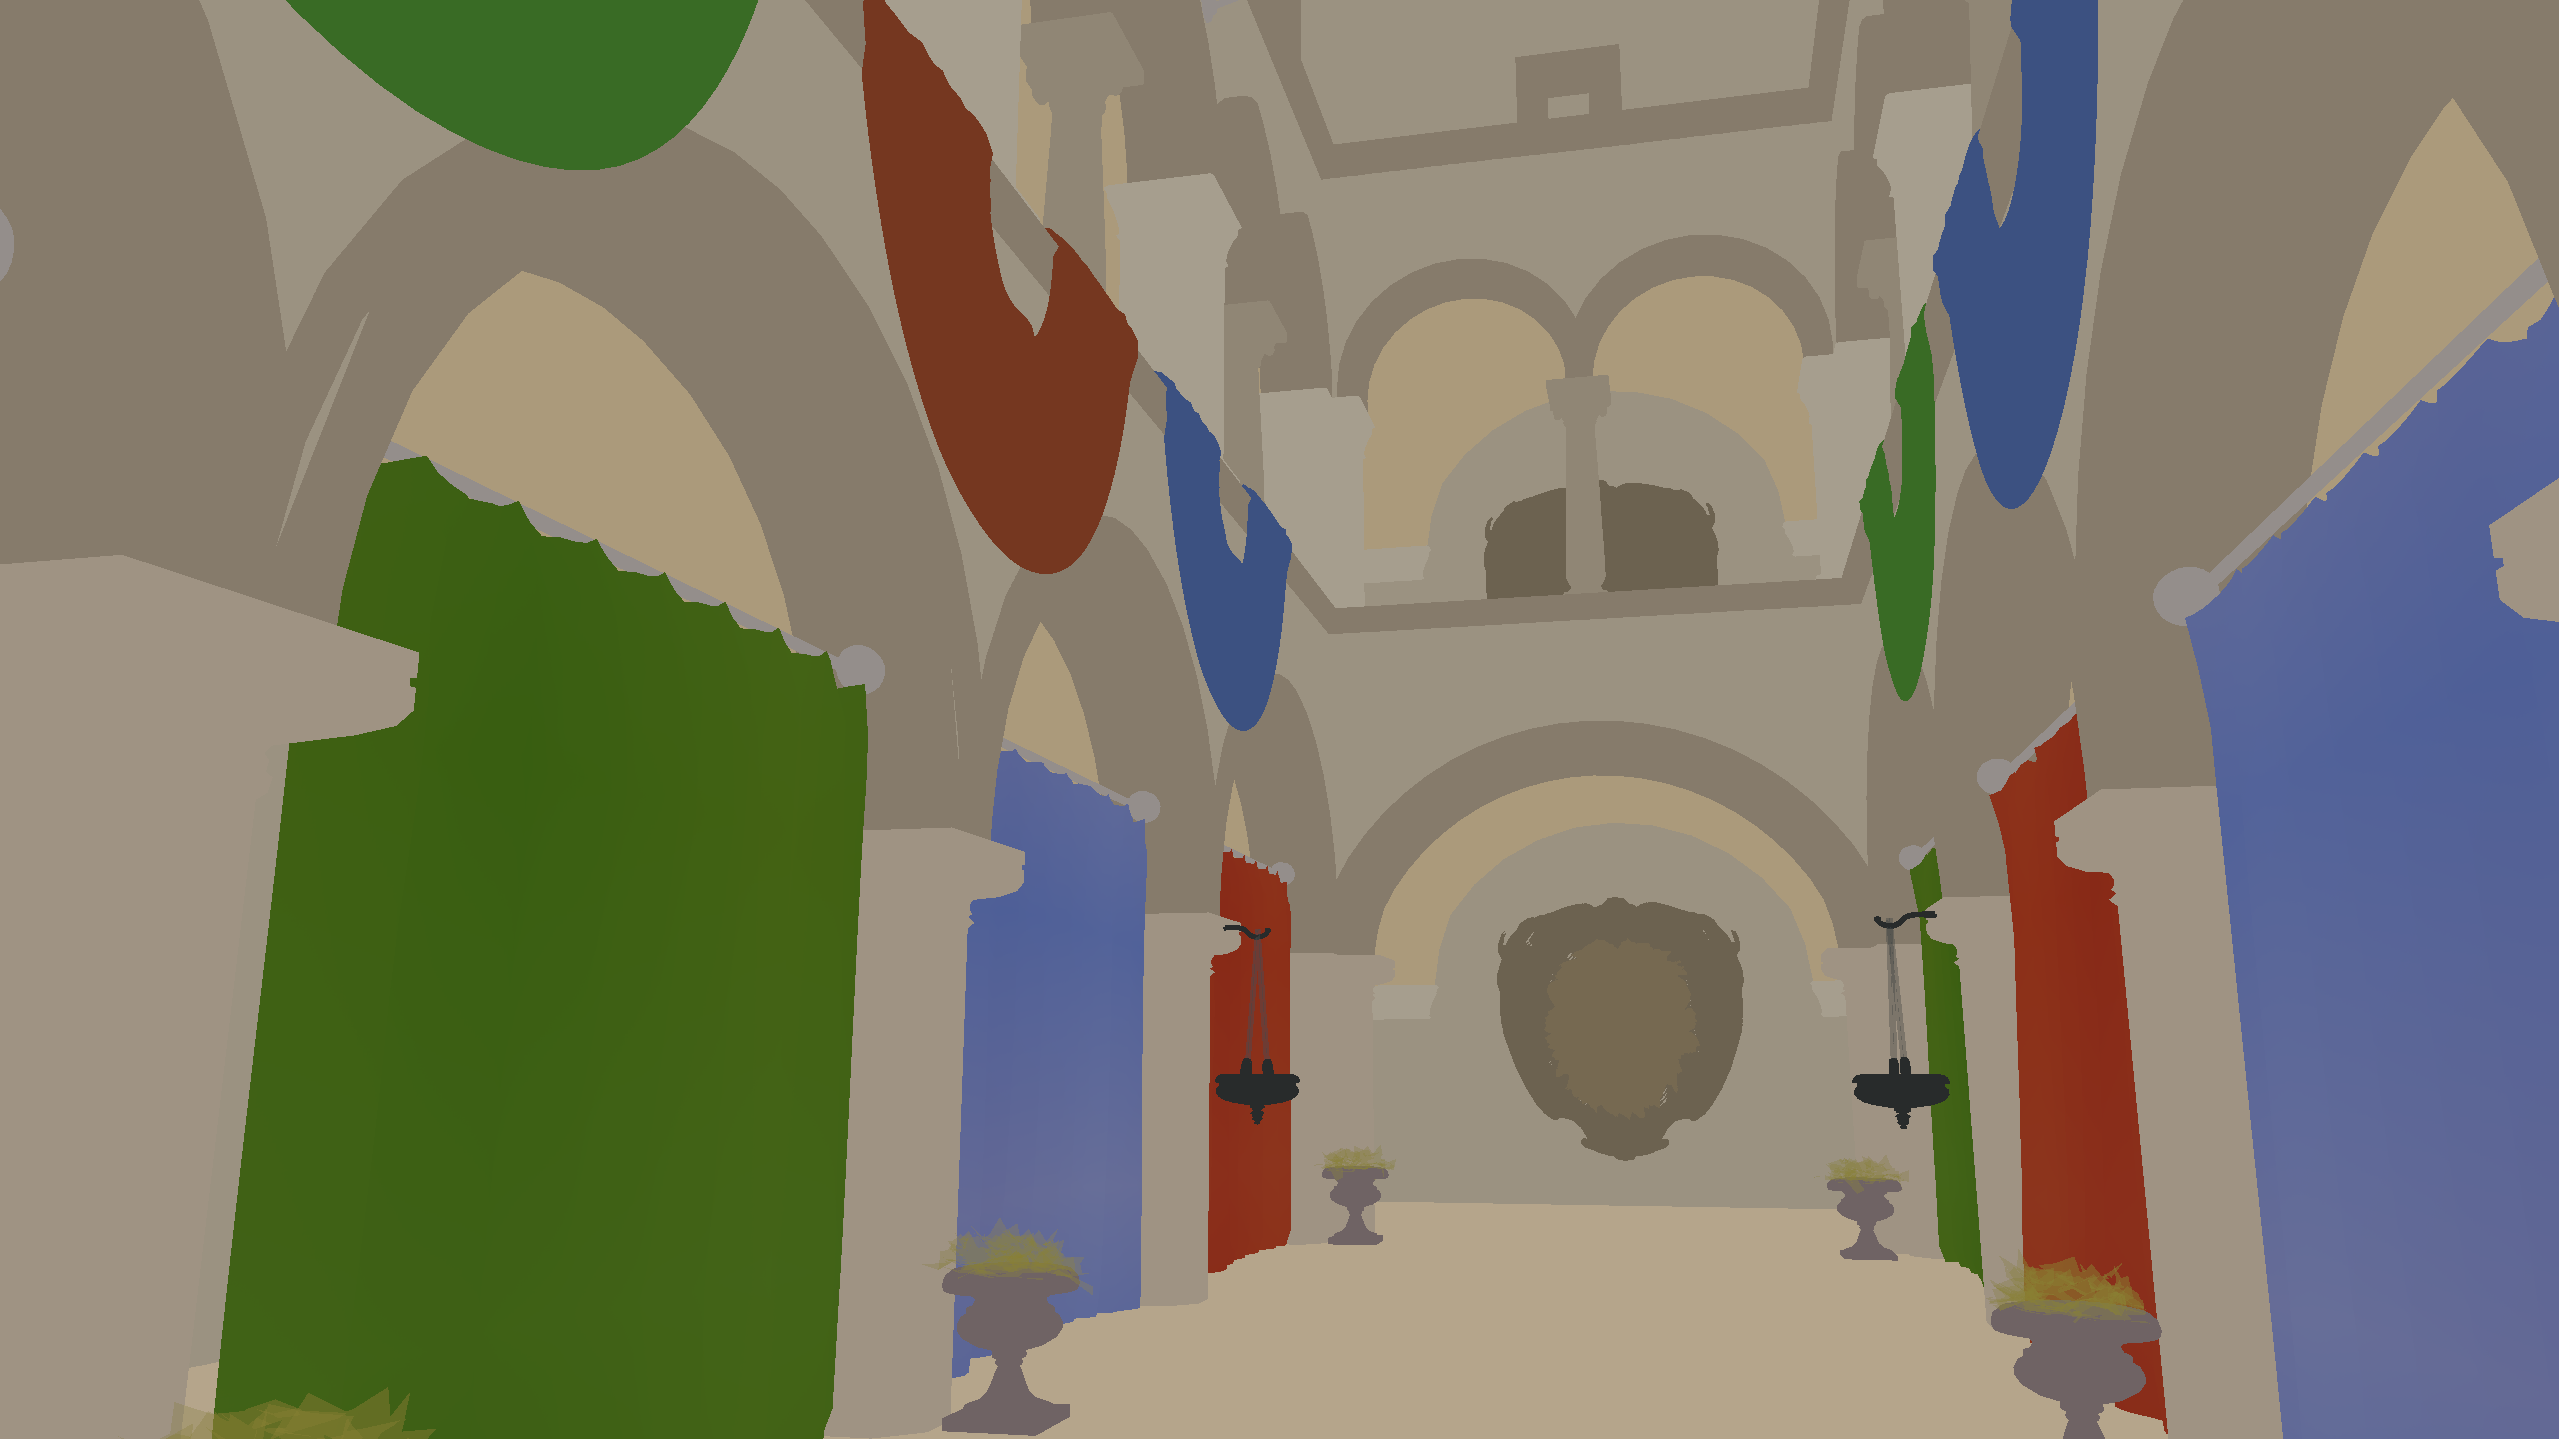
One I completed the main ideas of my refactor, I started working on adding new features such as dynamic and bindless rendering, switching from forward to deferred rendering, and even adding shadowmapping and Image Based Lighting, as well as more features. At this stage, I had a fully functional Vulkan 3D rasterizer, but it still wasn’t exactly what I envisioned.
I wanted to add more to Pompeii, expand it further, make a user interface to control objects in the scene, add logic to objects, and slowly turn it into a useable engine of sorts. That's where I am today, working on splitting rendering from logic, and making Pompeii into a useable framework.
Automatic adjustment of the Exposure Value based on the average luminance, which is computed using compute shaders.
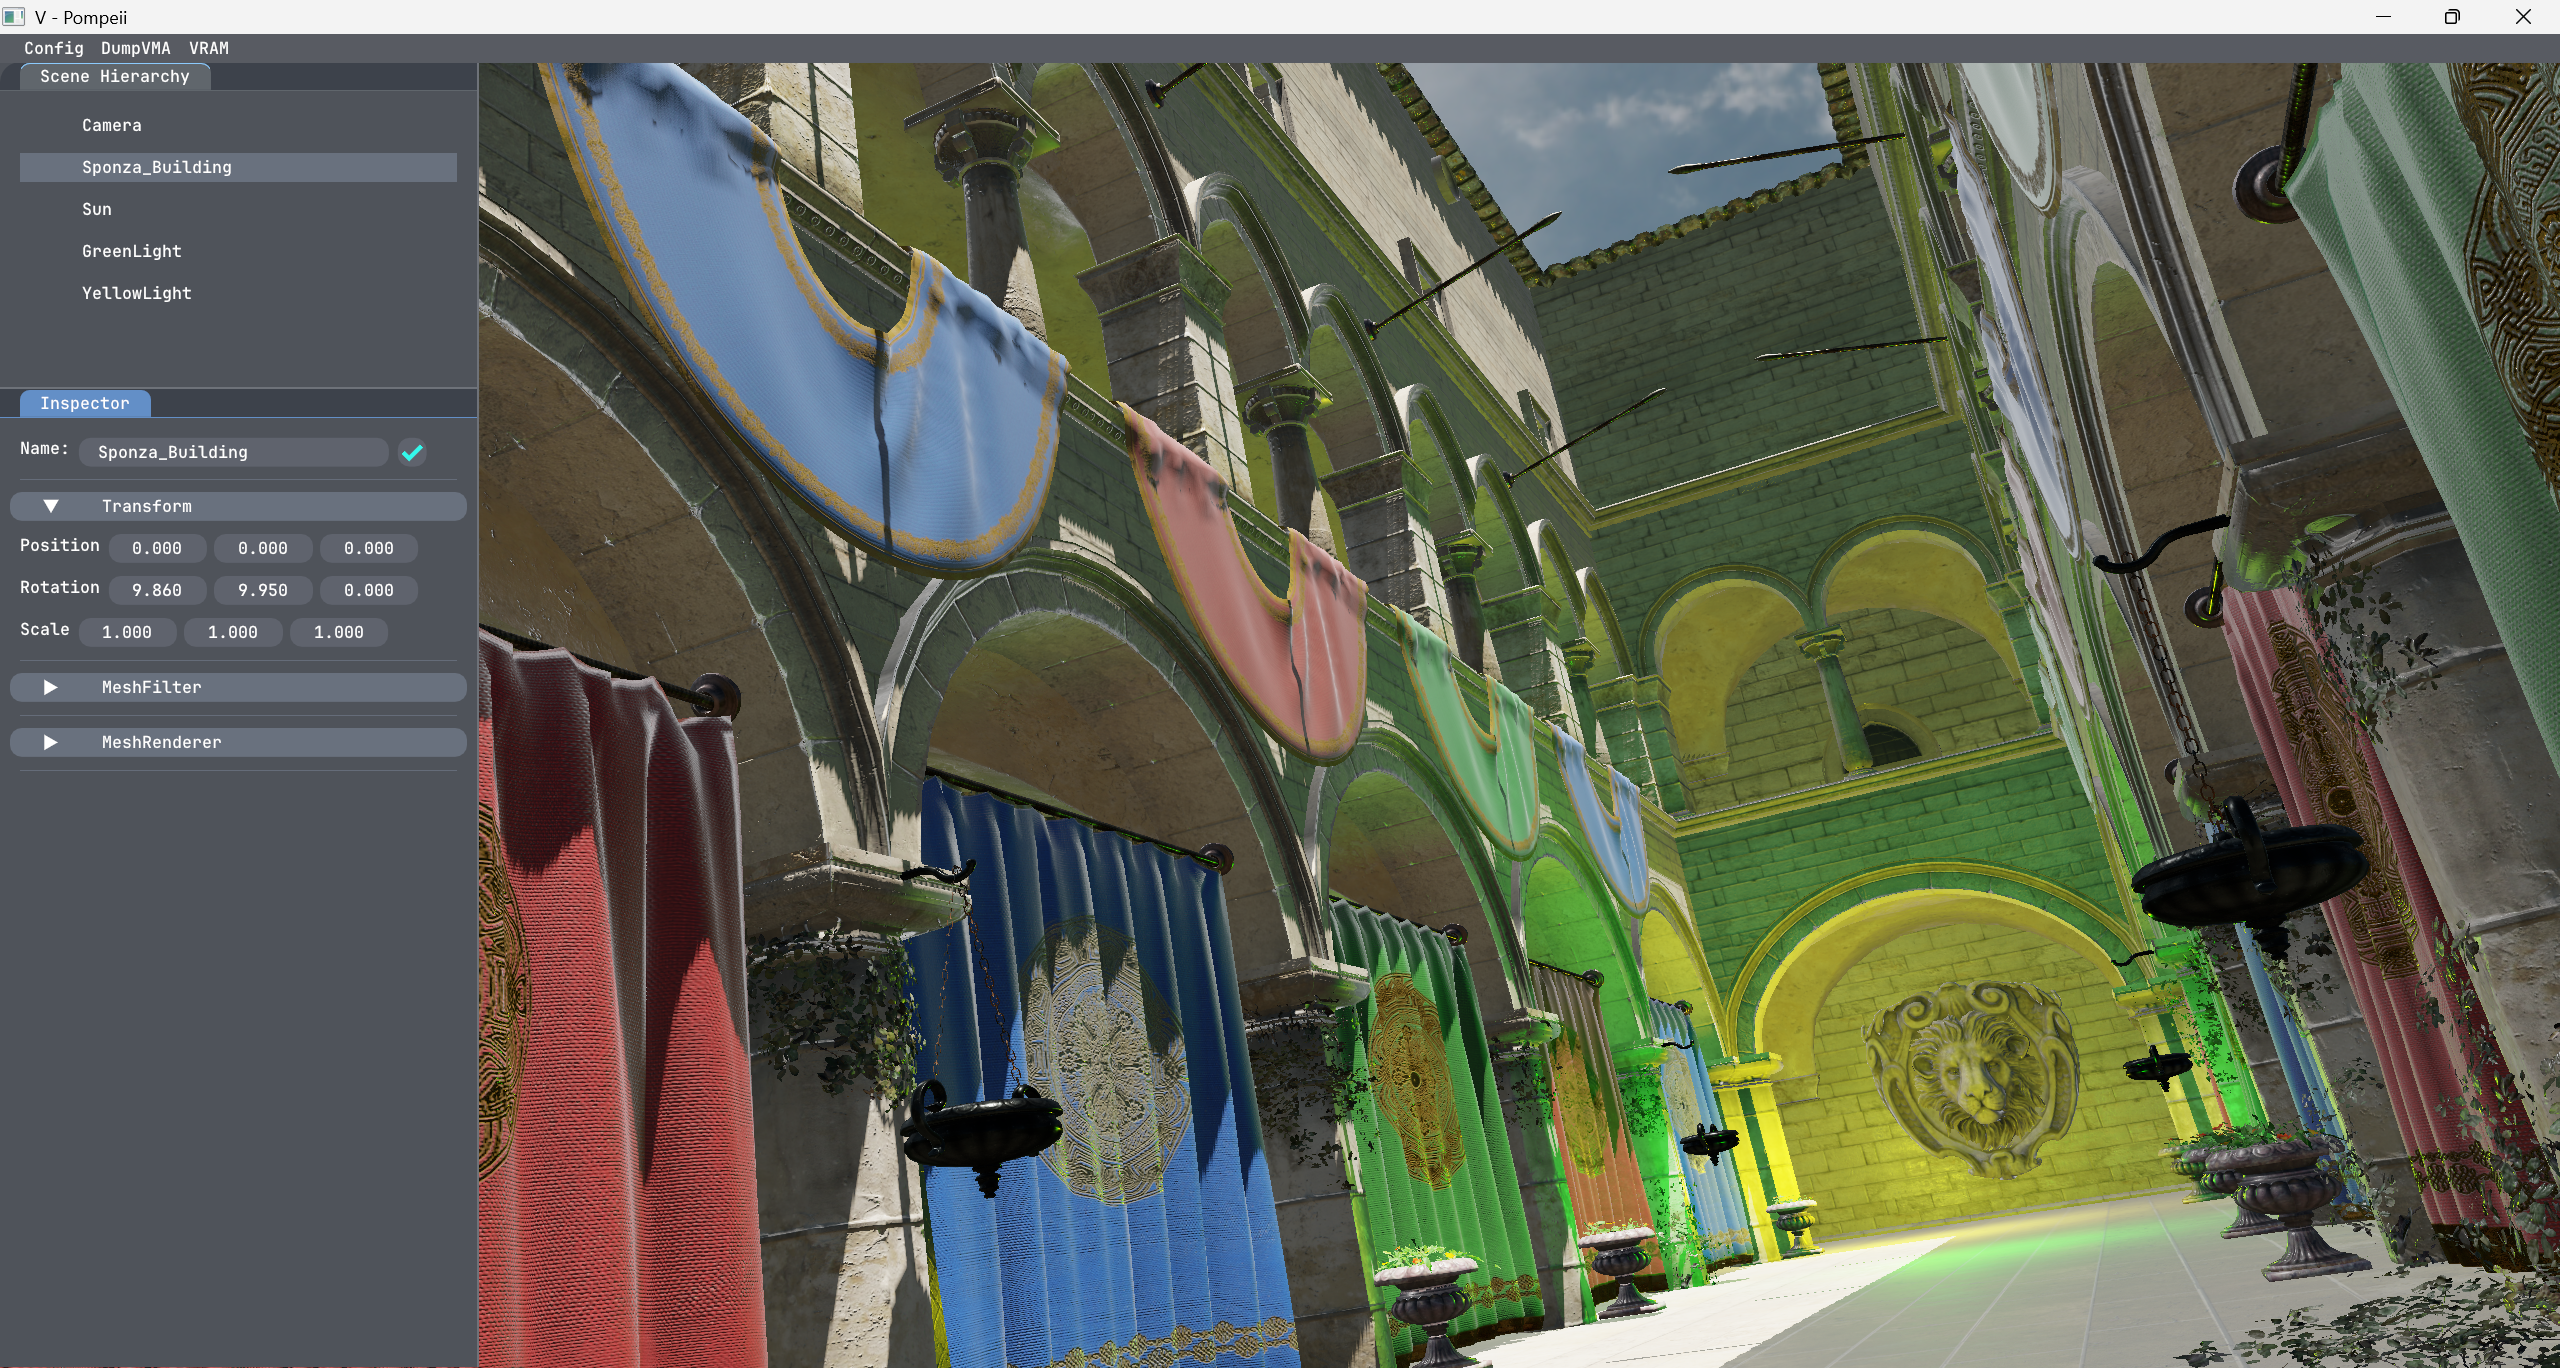
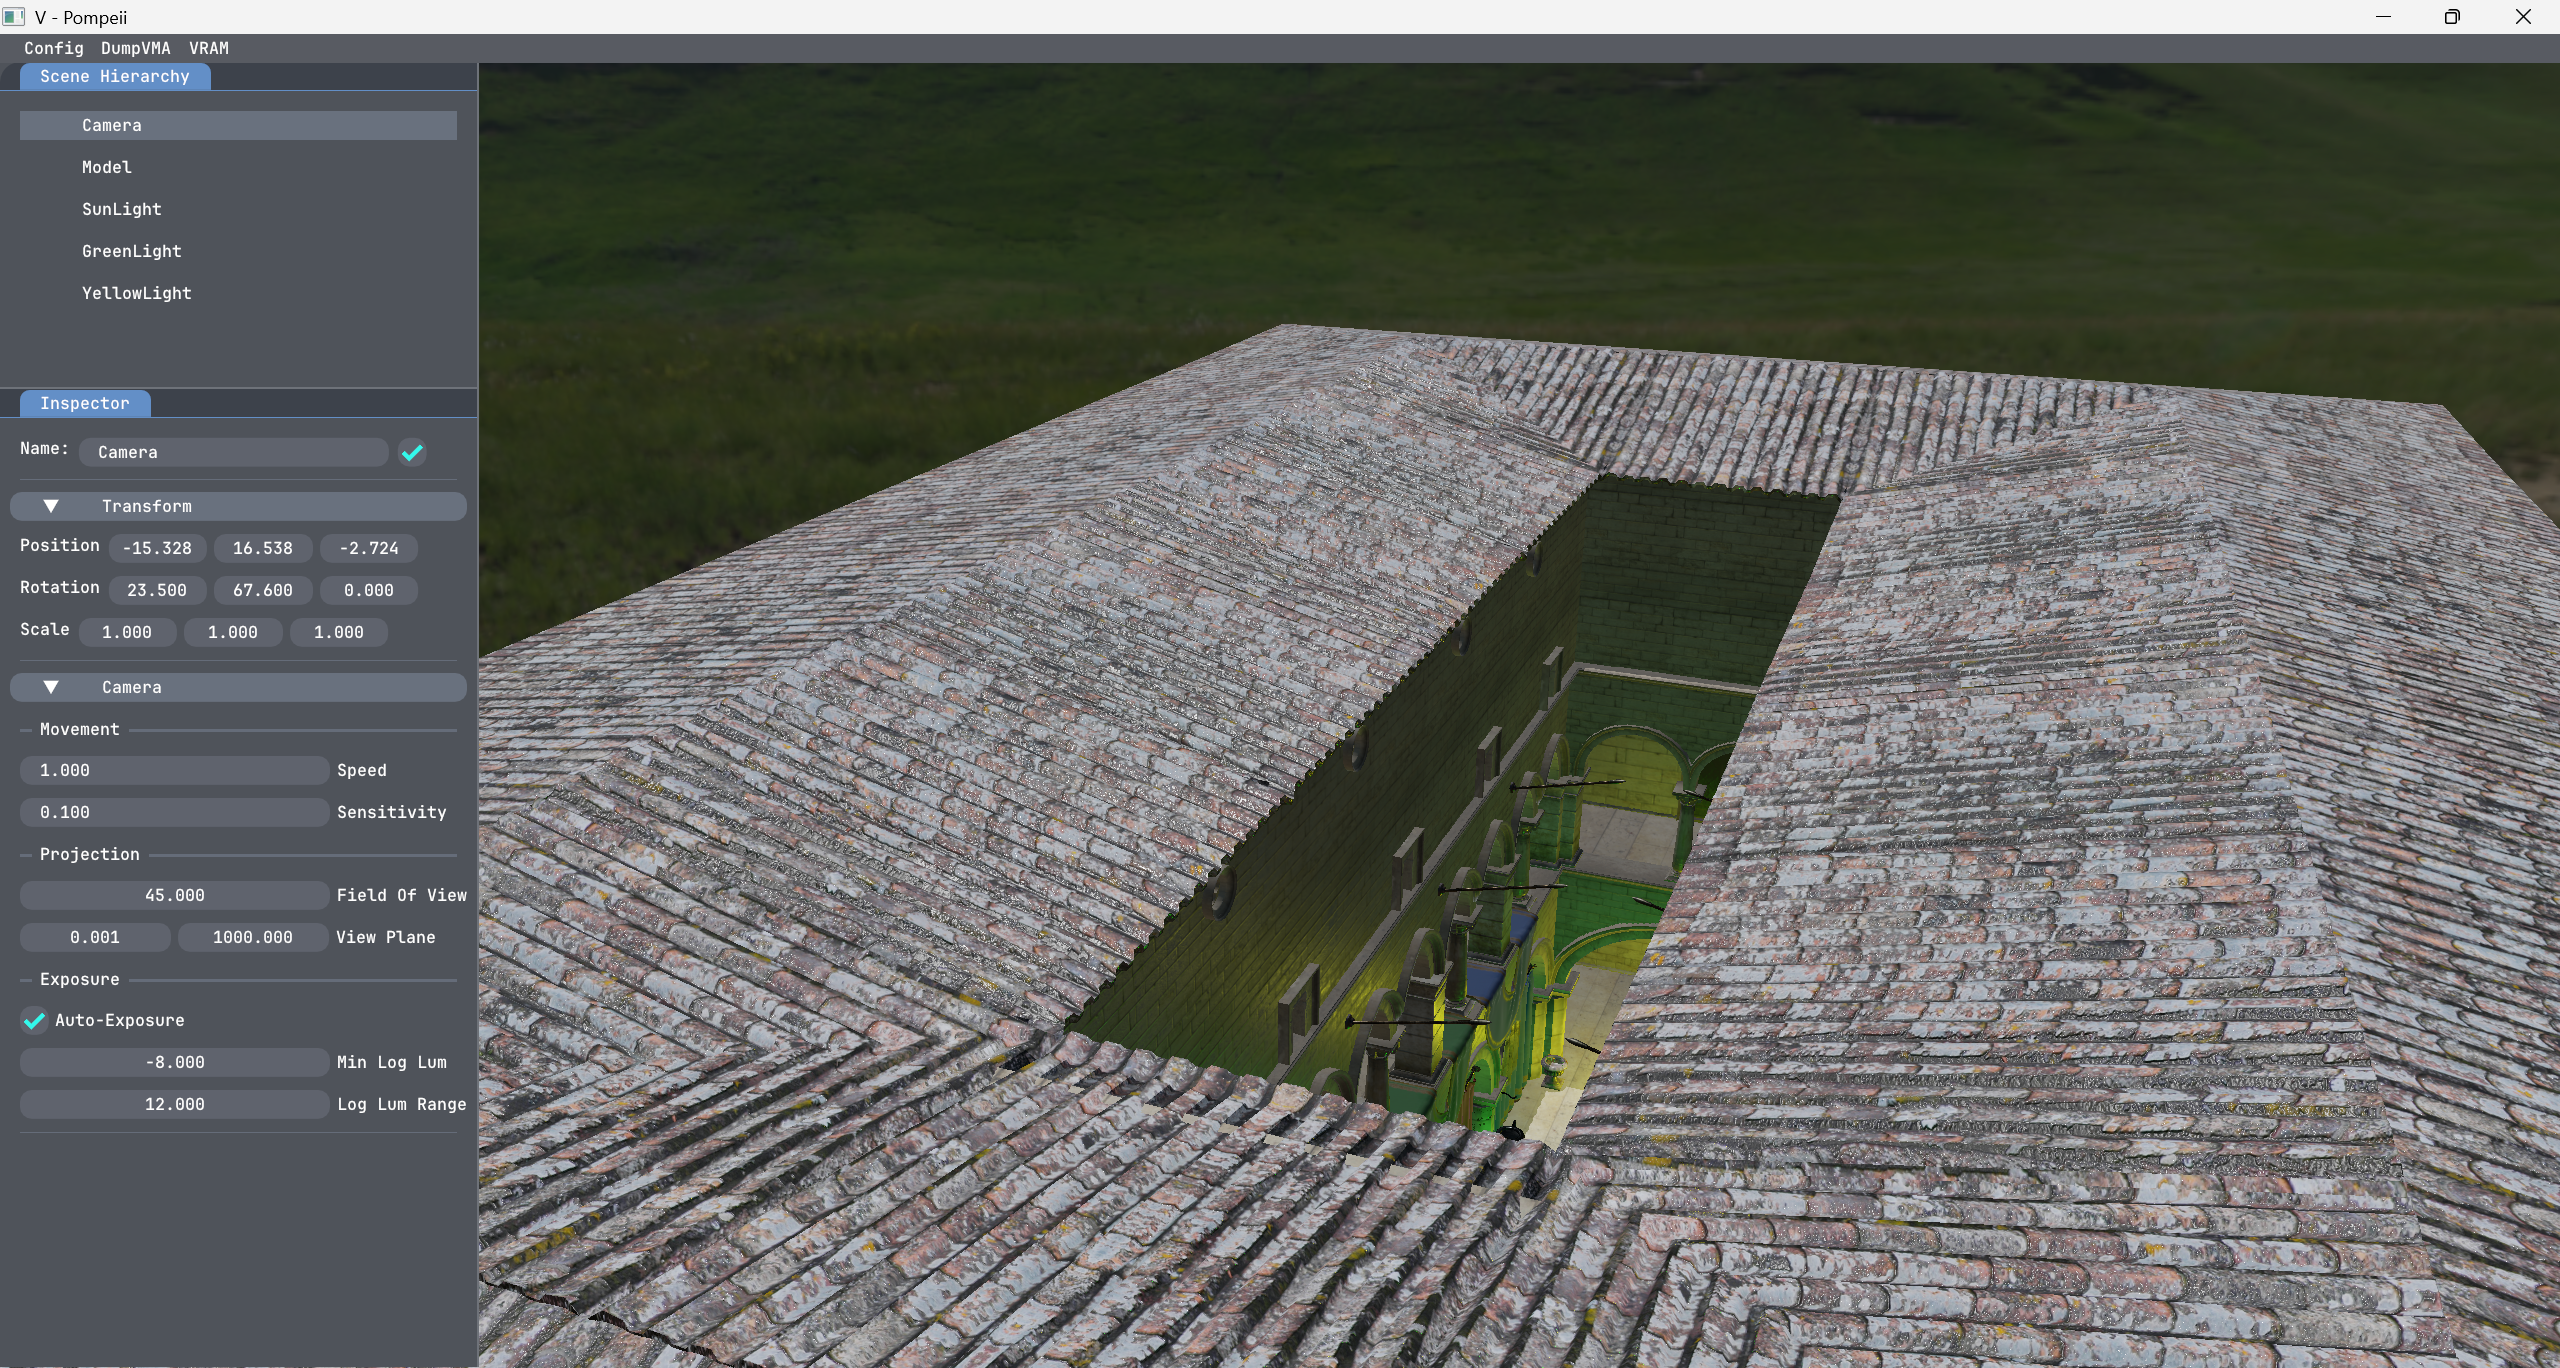
As I am trying to turn Pompeii into something easy to work with, and something I can use to make stuff in, one of the first steps was providing a user interface to manipulate objects.
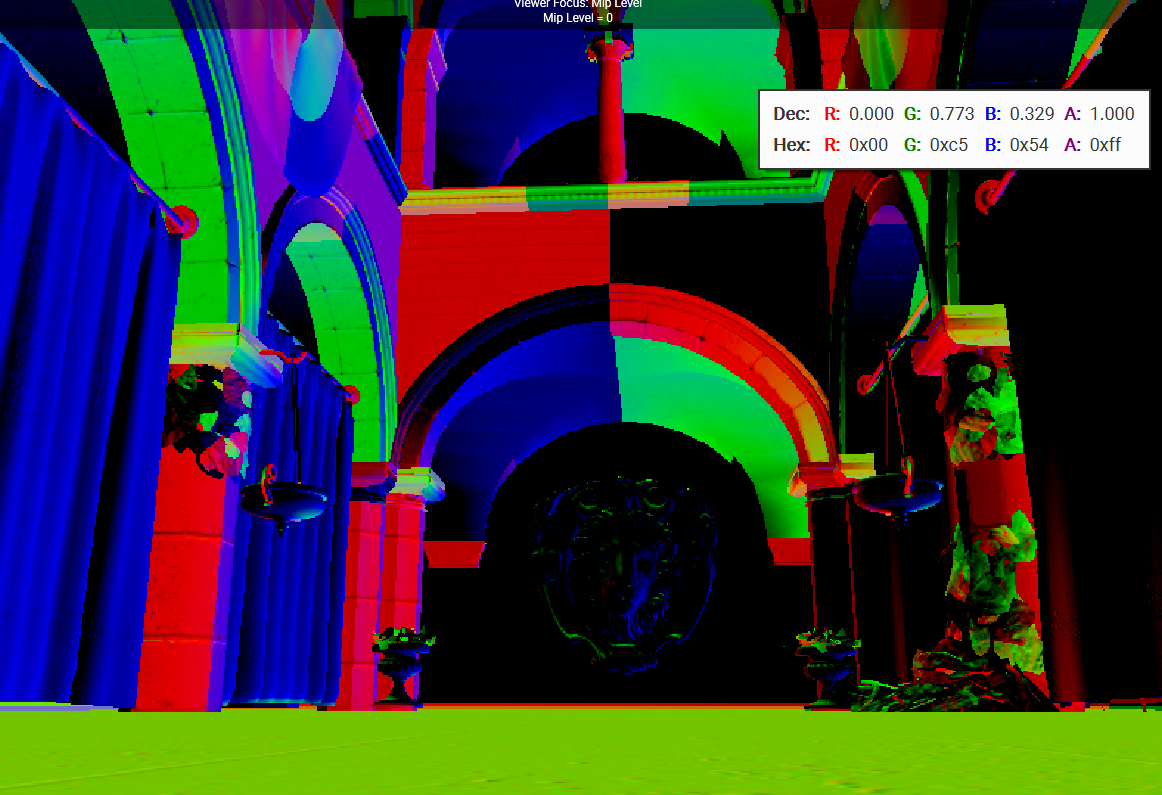
Enjoy these interesting bugs and errors I got while experimenting and messing around!
This is the fragment shader in the Blit Pass. Here I receive the HDR Image produced by the lighting pass, and I apply (auto) exposure and tonemapping to convert the image back to LDR, ready for presentation.
#version 450 core
#extension GL_GOOGLE_include_directive : require

// -- Includes --
#include "helpers_exposure.glsl"

// -- Data --
layout(set = 0, binding = 0) uniform sampler2D Render;
layout(set = 0, binding = 1) uniform CameraSettings
{
	float aperture;
	float shutterspeed;
	float iso;
} camSettings;
layout(set = 0, binding = 2) uniform sampler2D AverageLum;

// -- Input --
layout(location = 0) in vec2 fragTexCoord;

// -- Output --
layout(location = 0) out vec4 outColor;

// -- Shader --
void main()
{
	// -- Base Color --
	vec3 hdrColor = texture(Render, fragTexCoord).rgb;

	// -- Camera Exposure --
	const float EV100 = CalculateEV100(camSettings.aperture, camSettings.shutterspeed, camSettings.iso);
	const float exposure = EV100ToExposure(EV100);

	float averageLum = texelFetch(AverageLum, ivec2(0,0), 0).x;
	const float autoEV100 = AverageLuminanceToEV100(averageLum);
	const float autoExposure = EV100ToExposure(autoEV100);
	hdrColor = hdrColor * autoExposure;

	// -- Tone Mapping (WIP to switch dynamically) --
	const vec3 aces = ACESFilmToneMapping(hdrColor);
	const vec3 reinhard = ReinhardToneMapping(hdrColor);
	const vec3 uncharted2 = Uncharted2ToneMapping(hdrColor);
	vec3 ldrColor = reinhard;

	// -- Output --
	outColor = vec4(ldrColor, 1.0);
}
Description will appear here.